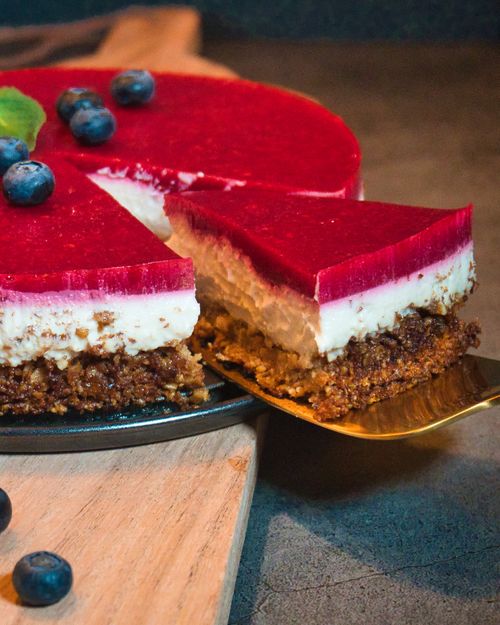
This is a very special cheesecake. It's not one of those recipes that I picked up at a friend or from a book. It's rather a result of multiple different ingredients and consistencies of achieving a good 100% homemade almond cheesecake and well it's here 🥰

| Preparing the almonds and baking the base | ~20 minutes |
|---|---|
| Cake creation time | ~30 minutes |
| Result | Ø26cm Cake |
| Glutenfree | ✅ |
By the way: In theory this cake is a No-Bake-Cake but I decided to bake the base so it's a A-Little-Bit-Bake-Cake. Also I do not think that this cake is "hard to make" but it requires some ingredients and a blender.
A bit of Background Story
Before we jump right into it I need to give you a little bit of background story: Sure thing I can pick whatever recipe that "works" and just enhance/change it to my needs but for this cake I said "It cannot be THAT hard to come up with a custom recipe for something that has a creamy, sweet texture". So I went looking for ingredients that can achieve a similar taste as well as similar consistencies and did a quick google search which ingredients (not the exact amount, just inspiration) other people have used already. Let me tell you: There is a lot (!) of different options (fortunately) from vanilla pudding powder over using vegan yoghurt, vegan curd, cashews, almonds, etc. That's cool cause it shows the fun and creativeness that lies within everything you can do.
But let's narrow it down: The cake base shouldn't be an issue. I normally go for ground hazelnuts and oat flakes. But the cream? My first try was using vegan cream cheese from the supermarket that was made out of almonds and since I had bad experiences using pudding powder I simply went for my well known thickeners (starch, agar-agar, guar gum, ...) and well it eventually worked out fine 🥳
So that was the first step - but it still included the vegan cream cheese from my local supermarket. It was time to replace it with raw almonds. So I went on seeing how I can replace the supermarket vegan cream cheese with my custom-made vegan cream cheese. To be honest: That was actually way easier than creating the rest of the cake recipe. Most of the magic here is done by the lovely blender ☺️
It actually took me 4 tries to come up with this recipe:
- First try: Tasty but consistency was 5/10
- Second try: Again tasty but consistency like 6/10
- Third try: Quite awesome, consistency 8/10 but I eventually burned the base
- Fourth try: Finally! Awesome consistency, awesome taste! 🥳
What you need
I said it before, I will say it again: Get a Blender. Get a Blender now. 😁 For Real. I wouldn't know how to make this cake without one. 😍 E.g. at https://amzn.to/394Qo1A
I am not advertising for any specific but generically spoken I can recommend KitchenAid, Vitamix, Bianco di Puro from my own experience or friends experiences. That doesn't make the others necessarily worse 👐
Ingredients
The Cake Cream
- 160g Vegan Butter
- 110g Raw Cane sugar
- 2packs of Vanilla Sugar
- The zest of 2 Lemons (3-6g)
- Juice of 4 lemons
- 760ml Plant Milk
- 2tbsp Rice Syrup
- 2tbsp Maple Syrup
- 4packs (=4x 10g) of Agar-Agar
- 350g Raw Almonds (you can also take peeled Almonds. That makes it a bit easier)
For the Cake Base
- 80g Oat Flakes
- 100g ground Hazelnuts
- 100g Vegan Butter
- 70g Sugar
- 1tbsp Water
For the Cake Icing
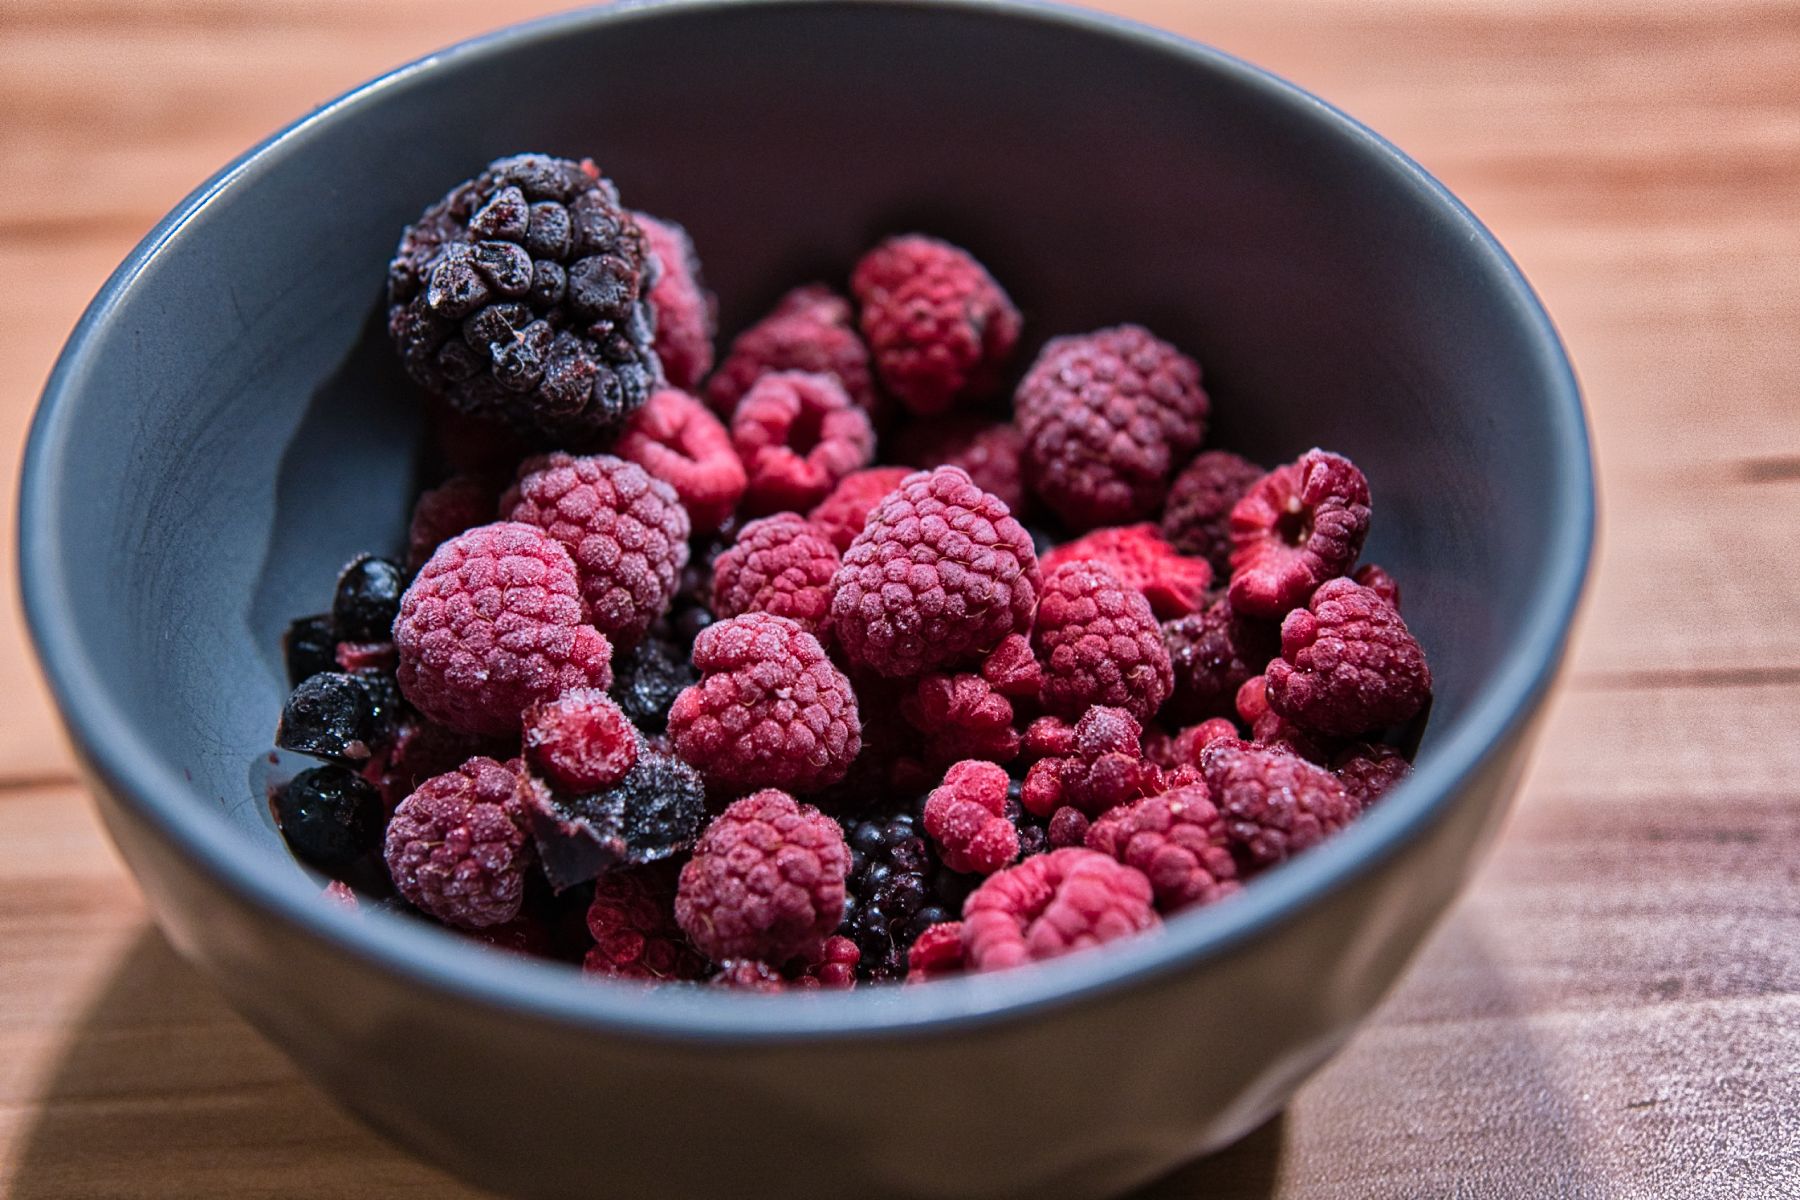
- 200g Berries (or Mango or whatever fruit you like)
- 1tbsp of Sugar
- 10g of agar agar
Instructions
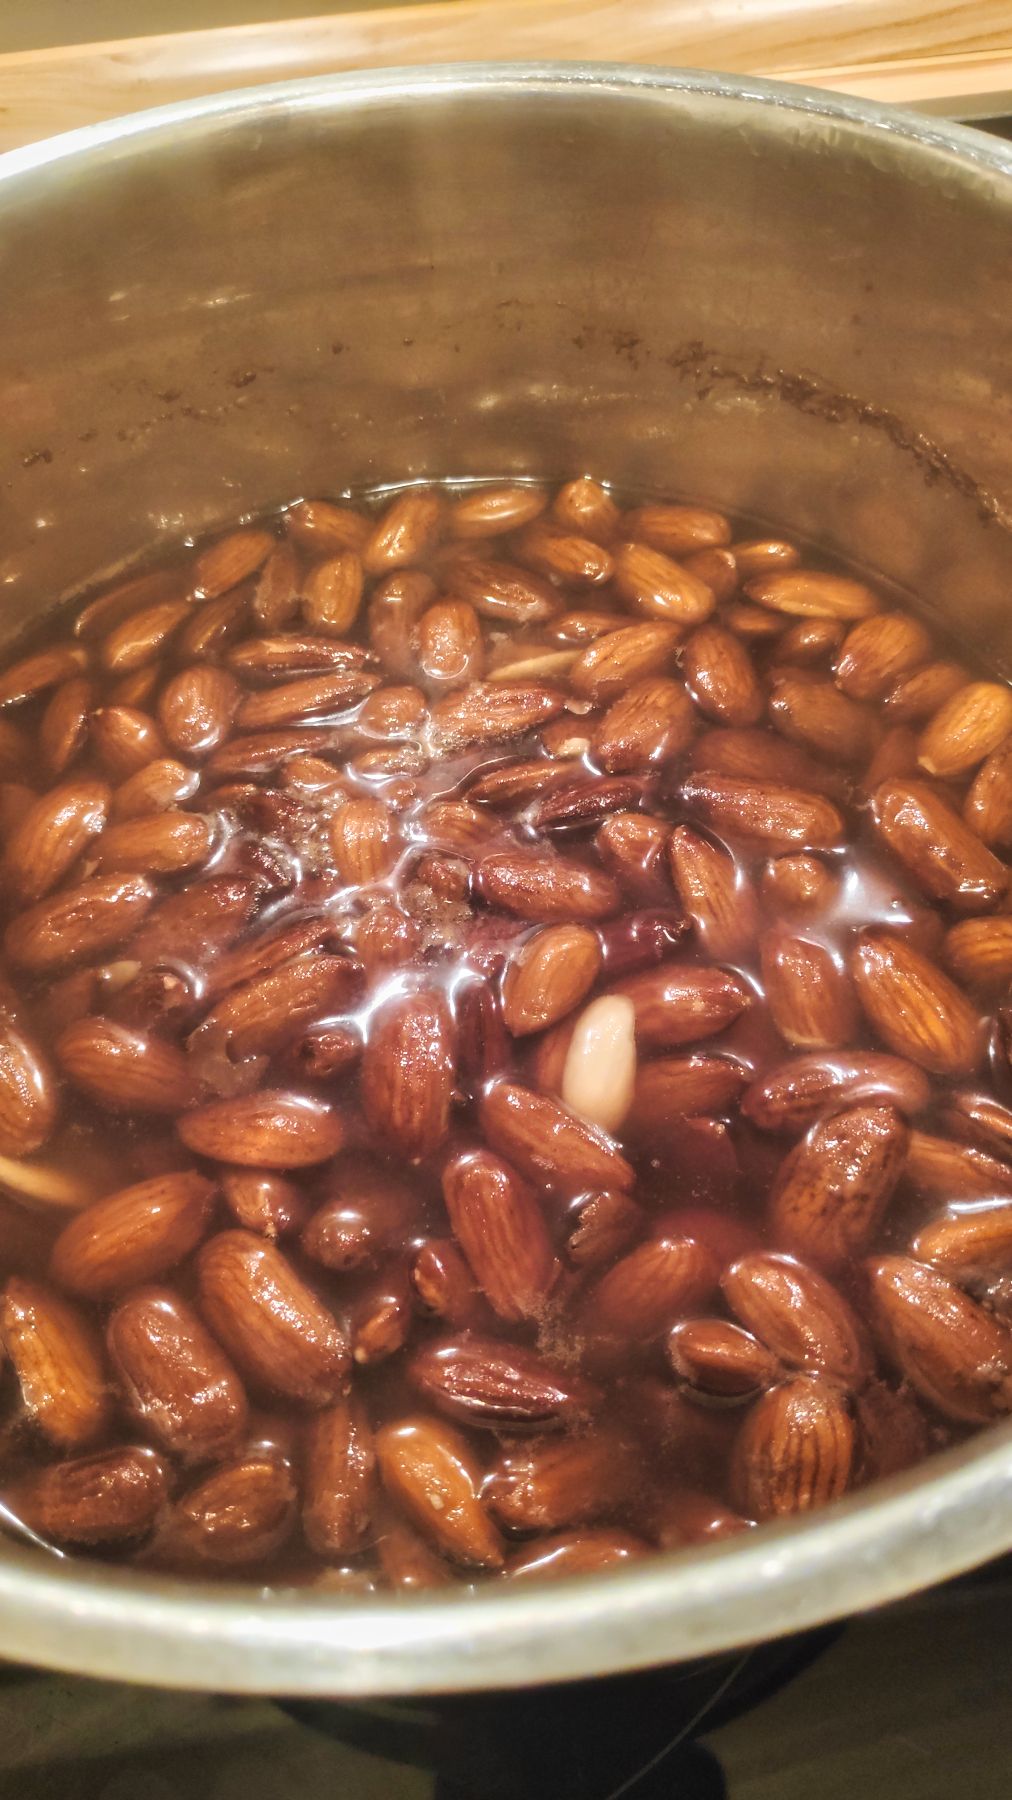
Preparing the Almonds
For both raw and peeled Almonds we will make sure that they get cooked (it helps achieving the creamy texture in the end).
- For Peeled Almonds only: If you have peeled Almonds then you only need to cook them for ~10mins
- For Raw Almonds only: you need to cook them for about 15mins, then sieve away the water
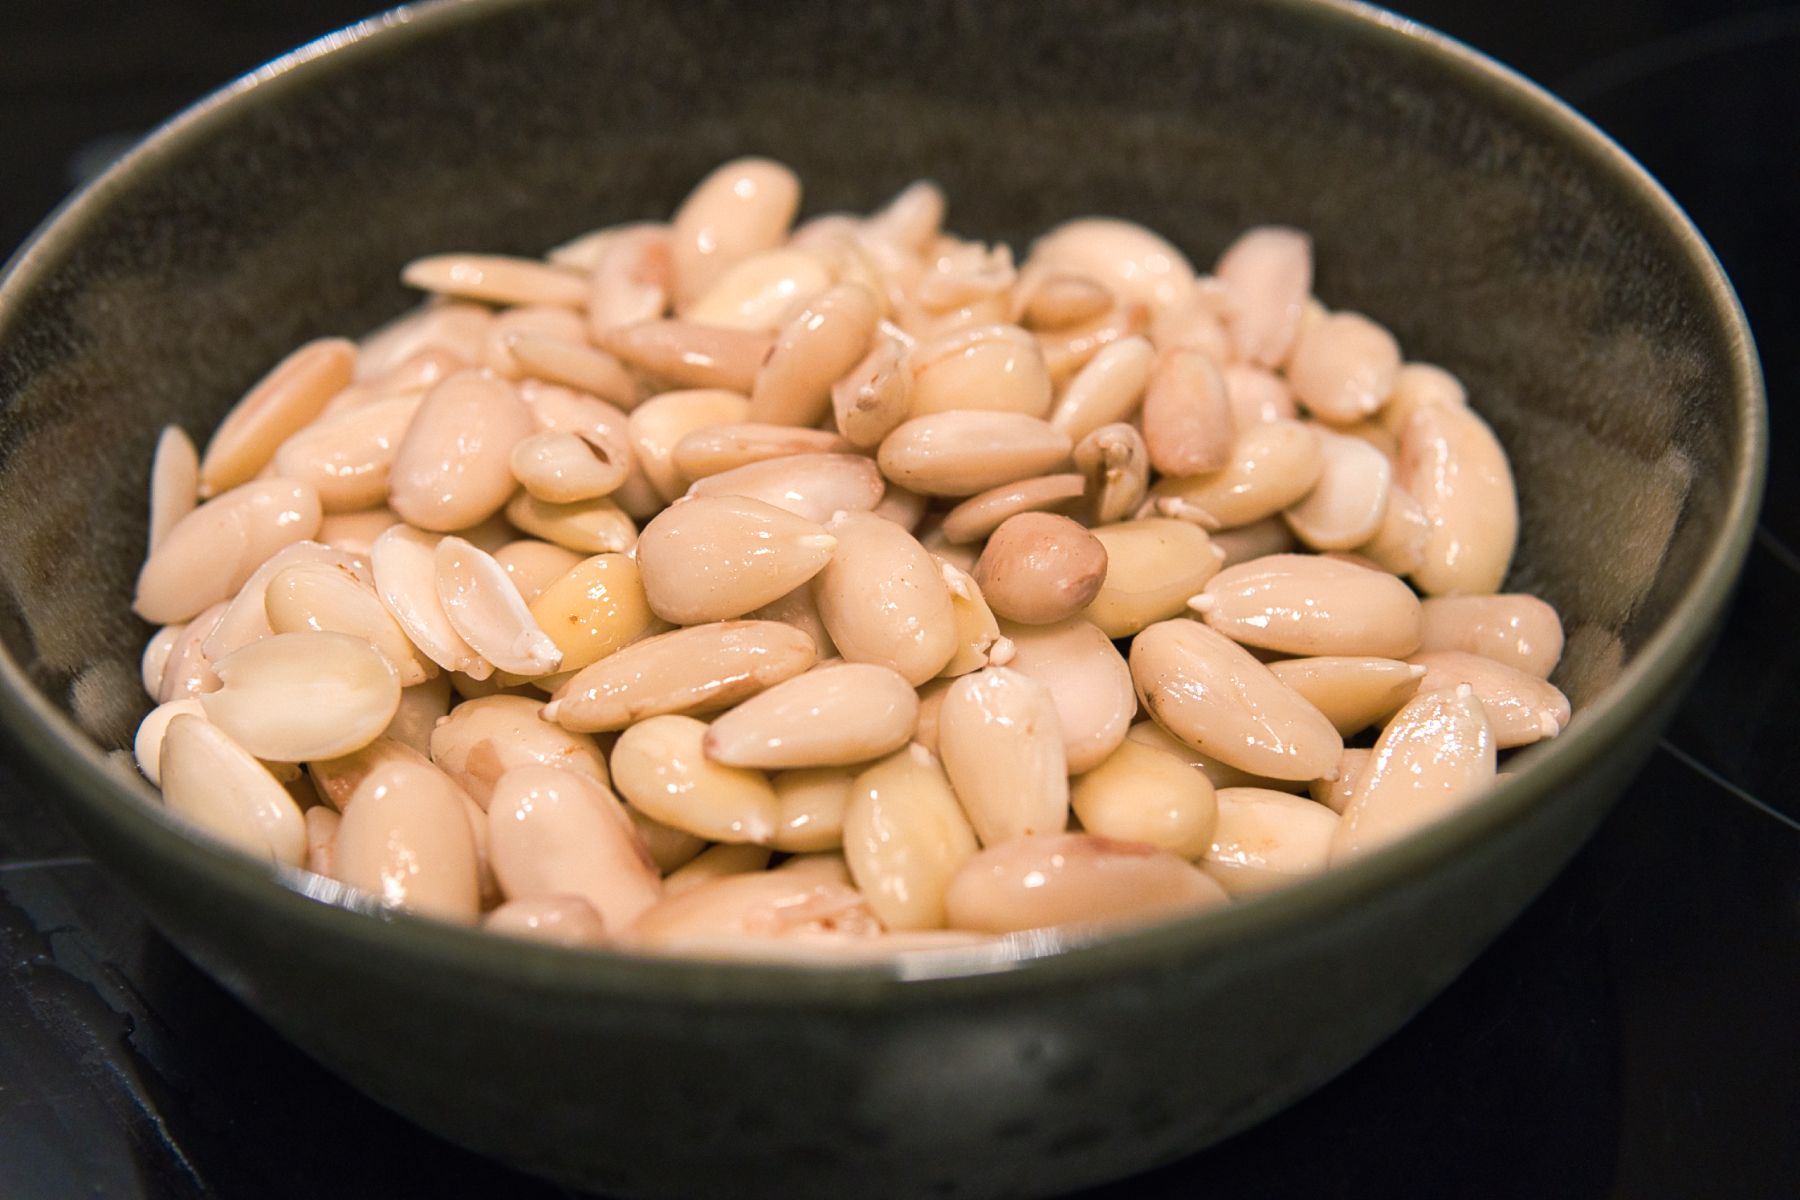
- For Raw Almonds only: Flick away the peel of the Almond with your finger to make the Almonds peeled Almonds
- For both: Put the cooked, peeled Almonds aside
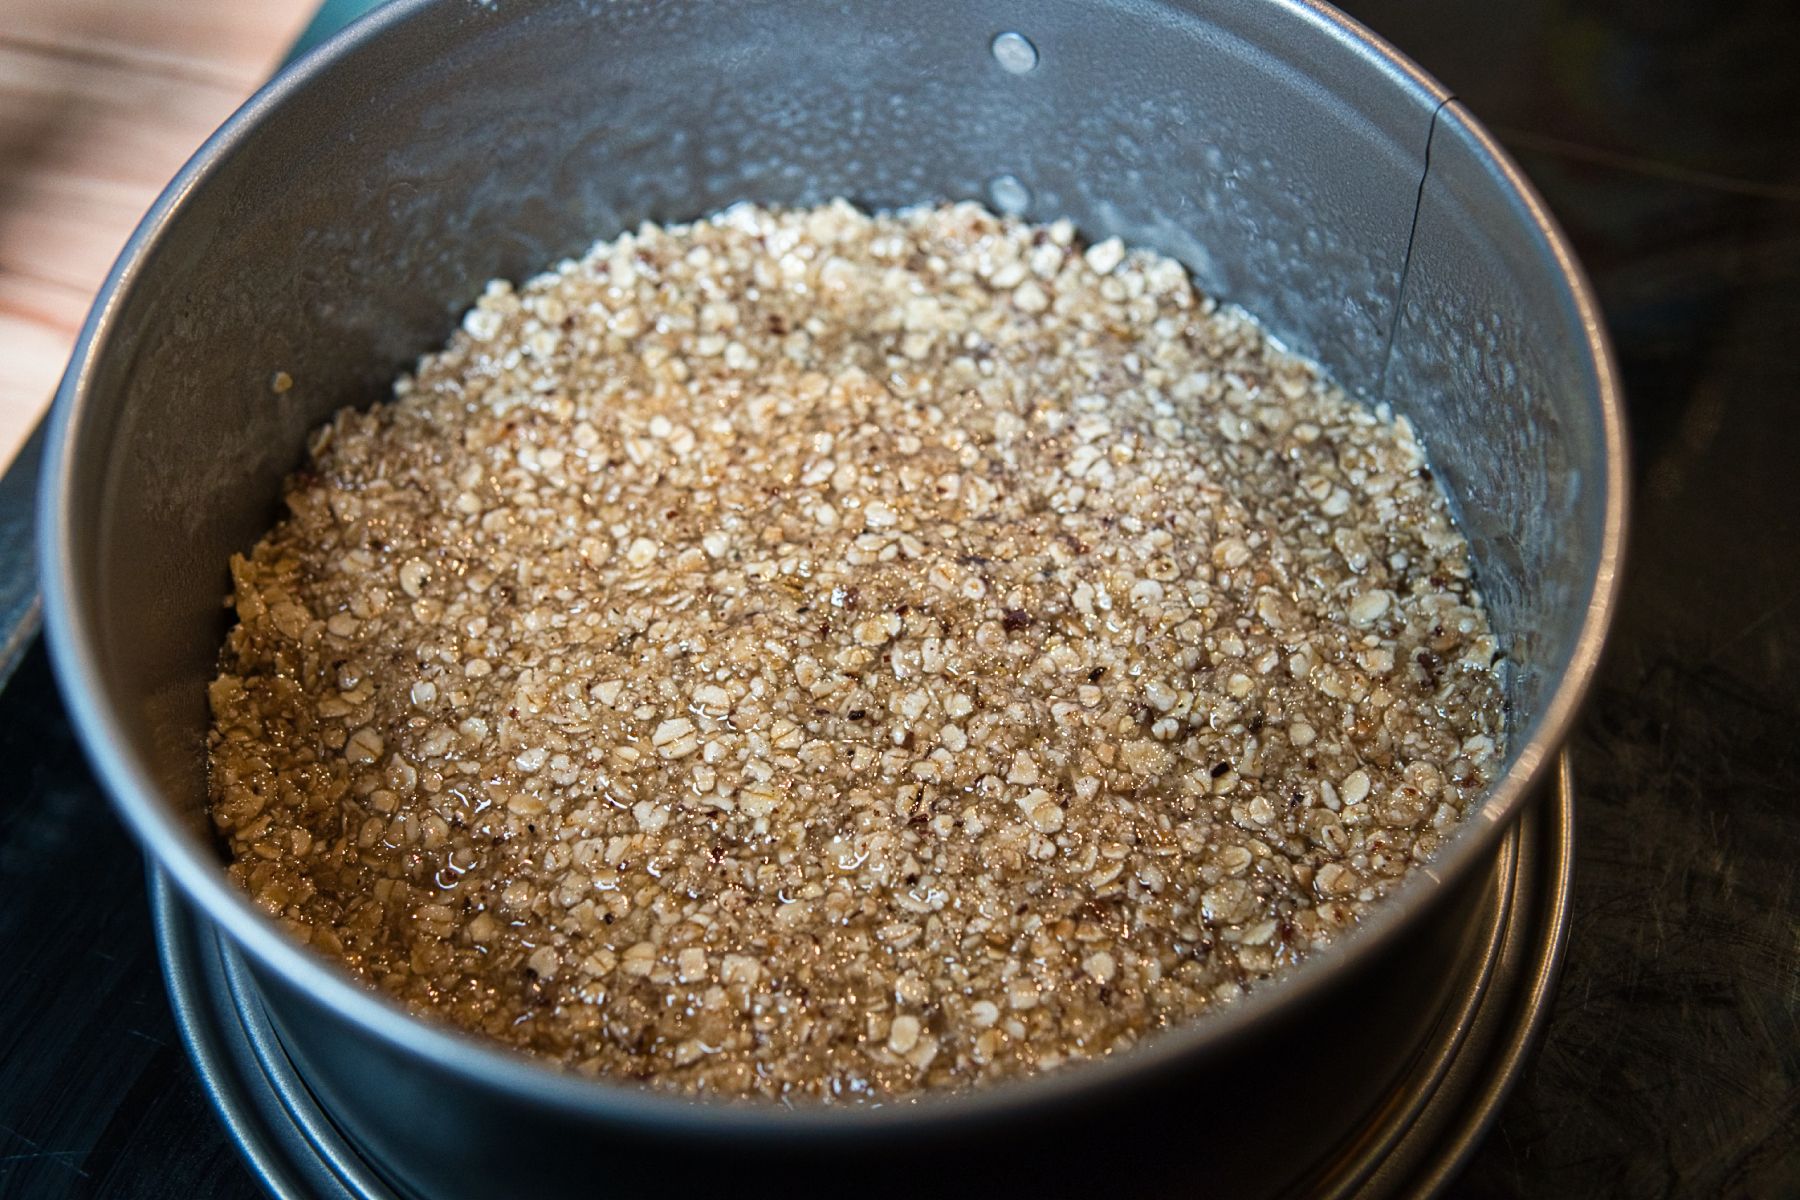
Preparing the Cake Base
- Melt the vegan butter slowly in a pot
- Set to very low heat and add the oat flakes and the hazelnuts and mix it
- Add the sugar and the water
- Distribute the mass as Cake Base in a cake tin. It might look like it's not enough first but trust me it is. Just make sure to distribute evenly 🤗
- Bake the base at 185°C (365°F) for at least 20mins until it gets a brownish color and should look a little bit dried out.
- Put the base aside and let it cool down a bit

Making the cheesy, lovely cheesecake cream
- Take a pot, melt the vegan butter, add the Raw cane sugar to it and let it dissolve a little bit
- Add the Lemon Juice
- Add the Vanilla Sugar
- Add the Rice Syrup
- Add the Maple Syrup
- Mix it all together
- Pour the mix into the blender
- Pour the plant milk into the mix in the blender
- Also add the peeled Almonds
- Blend it all thoroughly. You will probably not get very far with a simple smoothie maker here. The texture needs to be really really smooth. It takes some rounds of blending (it took me ~5mins at medium level). Please do not be scared of it getting warm - this is something that will help the texture (as long as it doesn't get so hot that it burns) 🥳
- Make the taste test and the texture test 😋
Cheesecake cream on that Cake Base now!
There is one ingredient we didn't use yet: Our Agar Agar.
- Take a pot and fill it with our blended cream mass
- Heat it whilst stirring on low to medium level
- Add the Agar Agar now and mix it up smoothly.
- After 1min whilst stirring with the Agar Agar you can pour the Cream directly on your cake base in the cake tin 🥮
- No baking needed! Put the cake in the fridge for 2 hours and let the Agar Agar do its magic of hardening the cream.
In theory you could leave it here. If you like the raw, natural taste of cheesecake (i can relate, that's yummy as well). But that's not the goal of the recipe. Let's go one step further: Ice the cake.

Icing, Icing Baby - fancy it up 🍰
- Take the berries or whatever you chose and heat them up in a pot on medium level
- Take them to the blender and smooth 'em up. Like reaaaaallly smooth.
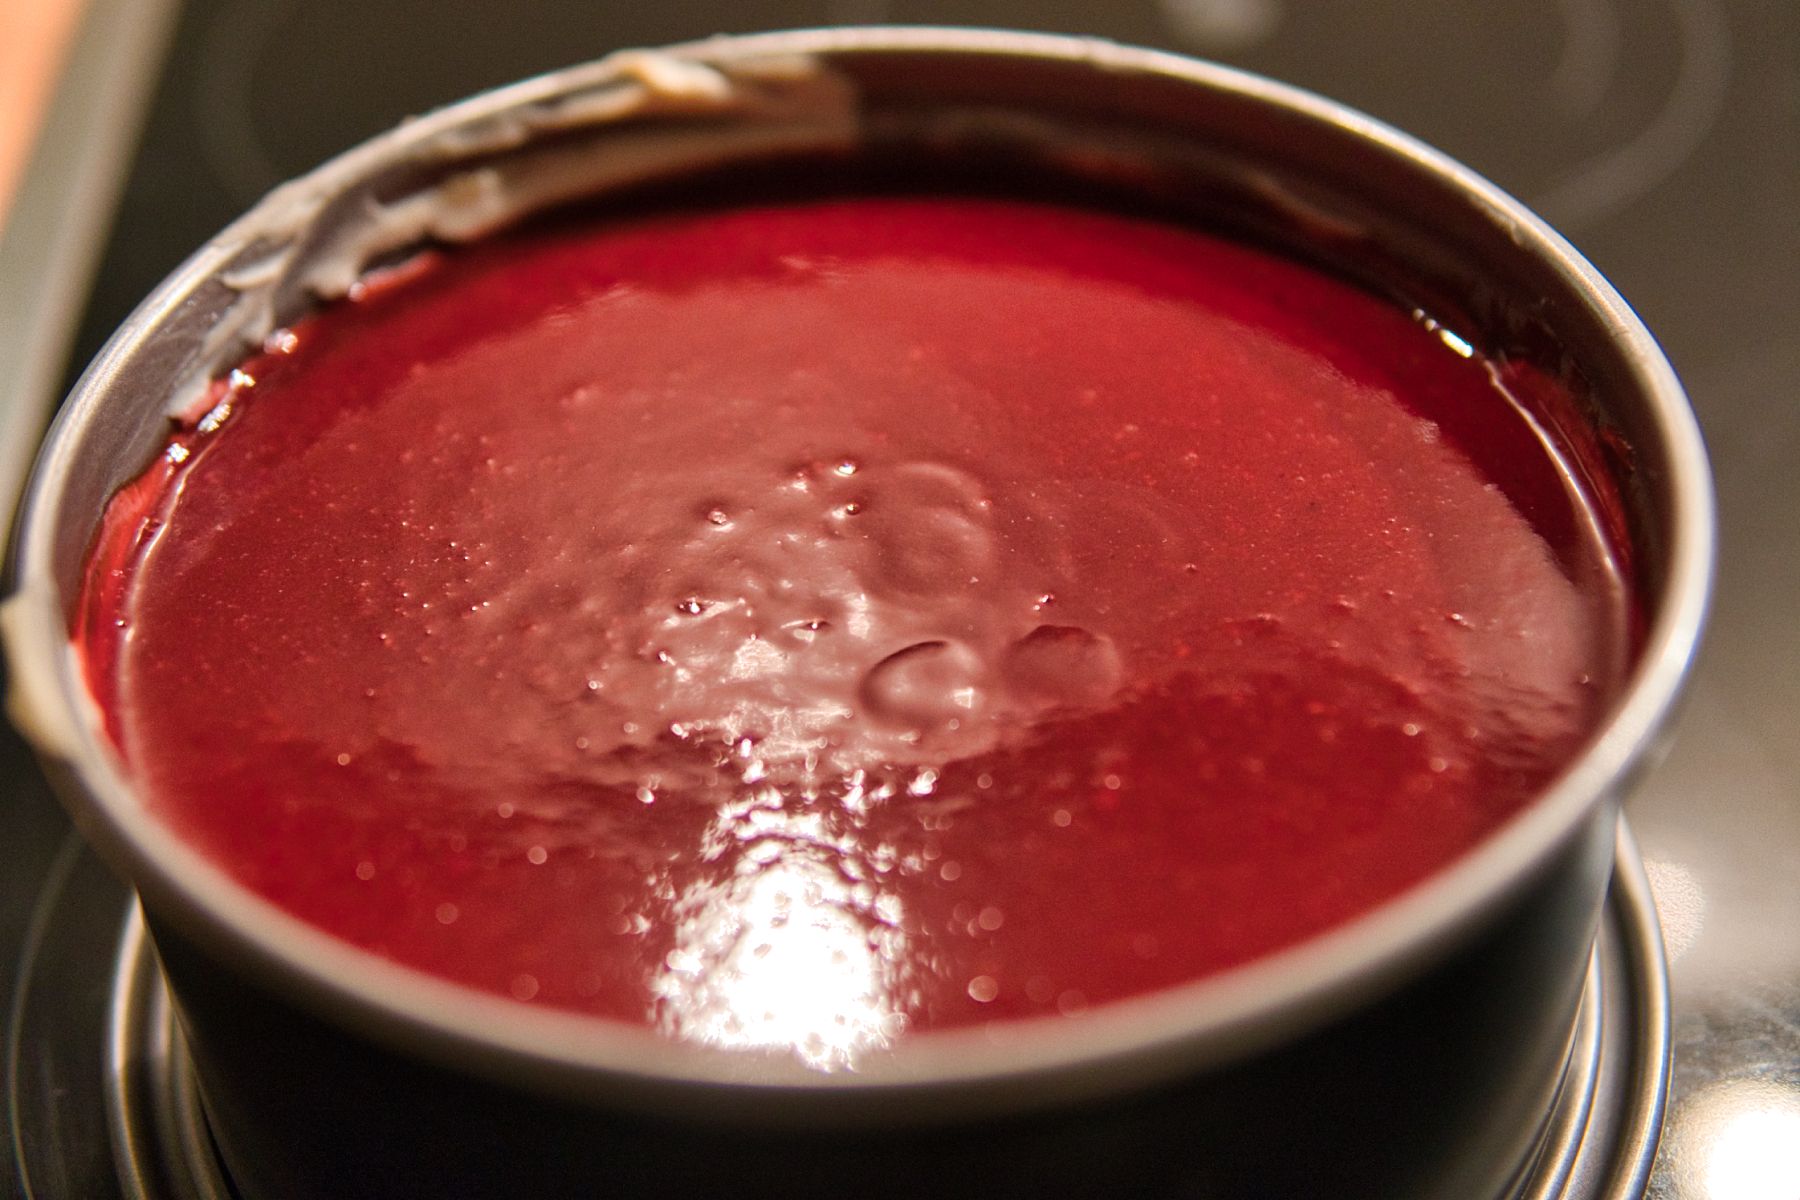
- From the Blender back to the pot
- Whilst heating, add the sugar and stir
- Add the Agar Agar and mix thouroughly - do not let it go clumpy! If so: Use the blender.
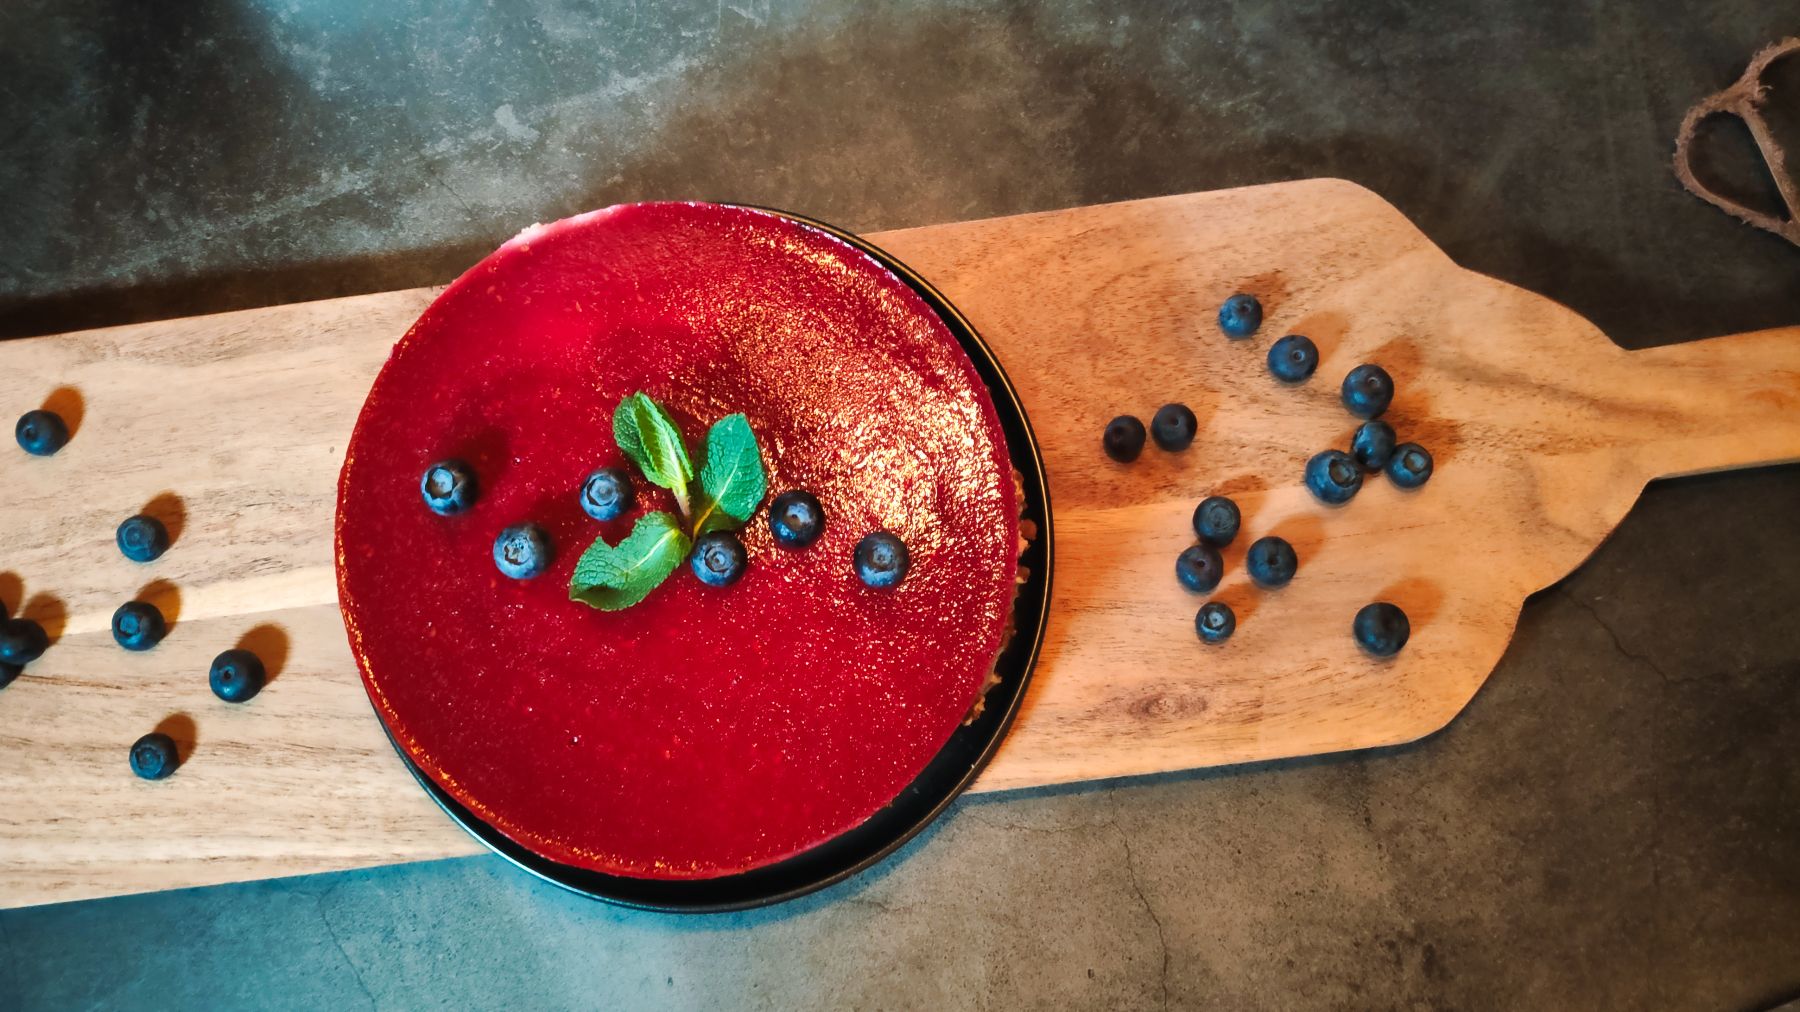
- Pour the fruity mass on top of the hardened cream now
- Wait for another 1-2 hours.
- Wow. That's some fancy, delicious cake. Not lying: Everytime I make this cake I feel a little bit proud that I came up with this on my own 😍😋 - I hope you can appreciate it as much as I do. Nom Nom! 🎂